So I recently found myself in the depths of a small bathroom renovation. It's fun and a great learning experience. It is, however, challenging when it is the only bathroom in your 600 square-foot 1920's era condo.
Essentially the toilet was ancient and inefficient, the pink plastic tile was popping off at every corner, and the existing hex tile was cracking.
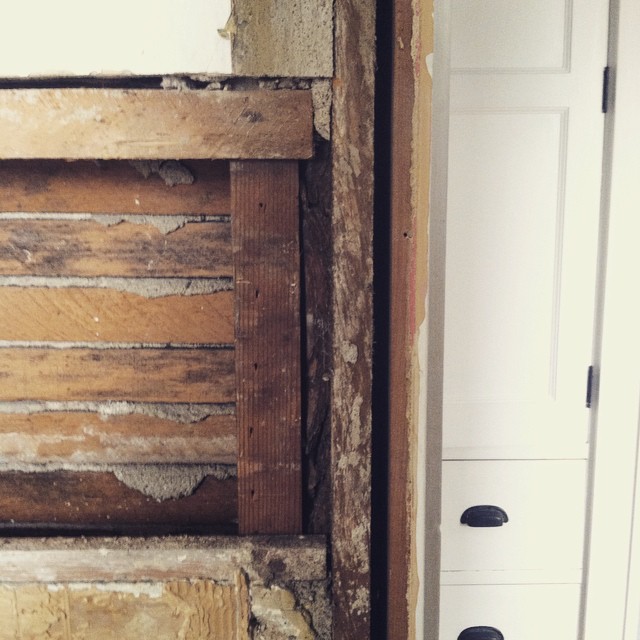
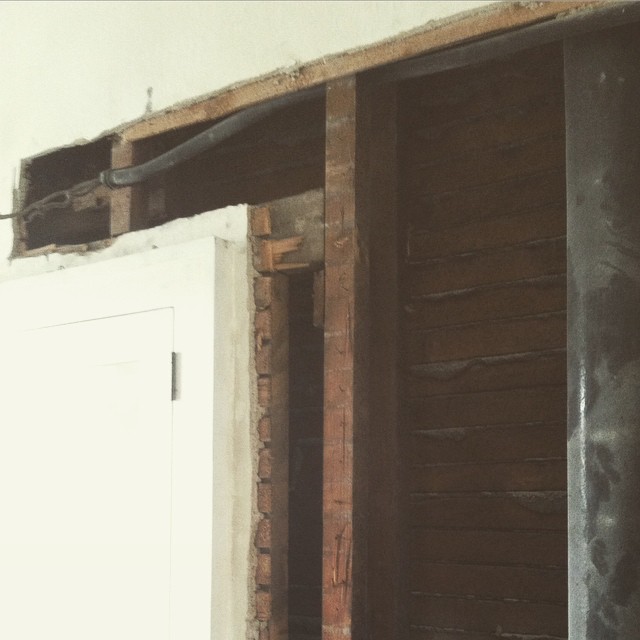
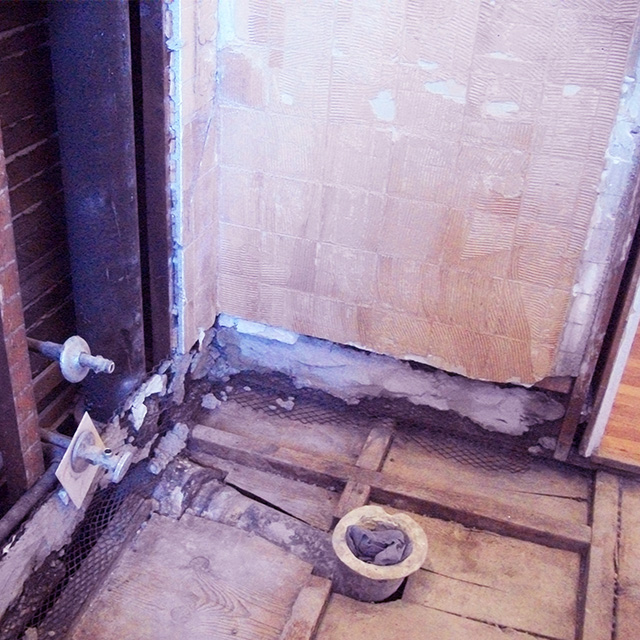
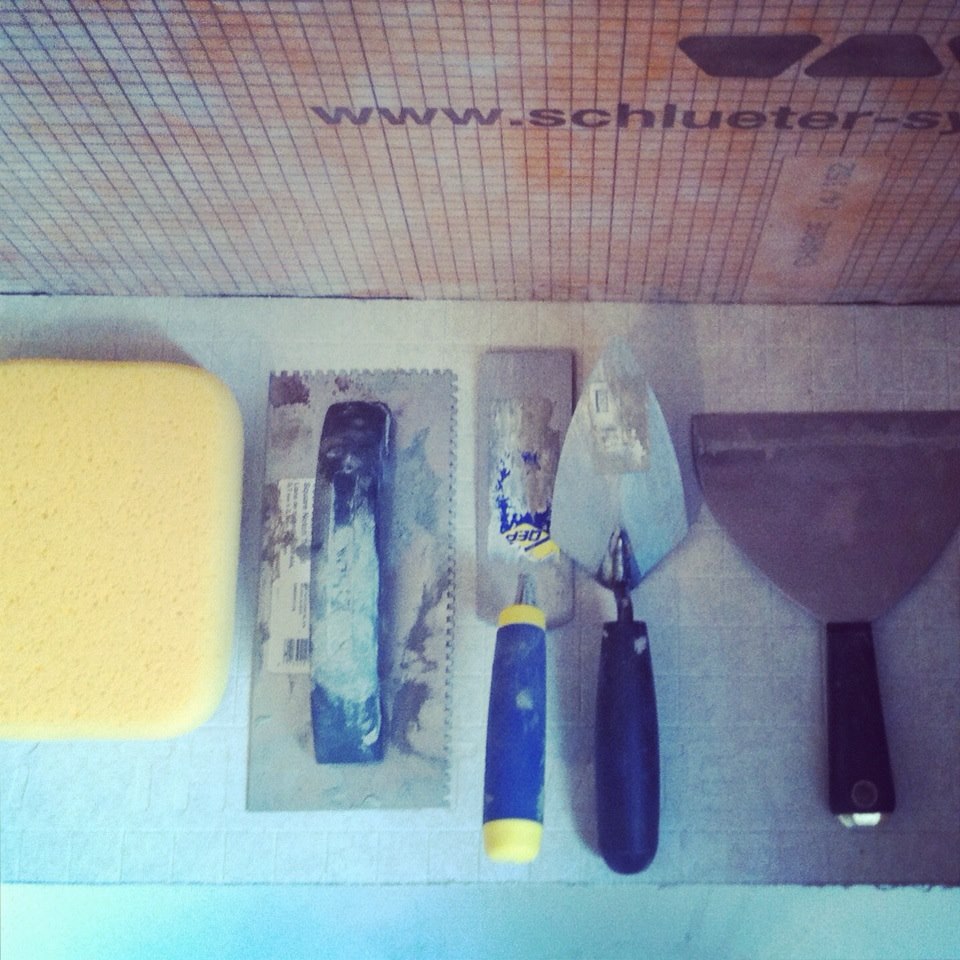
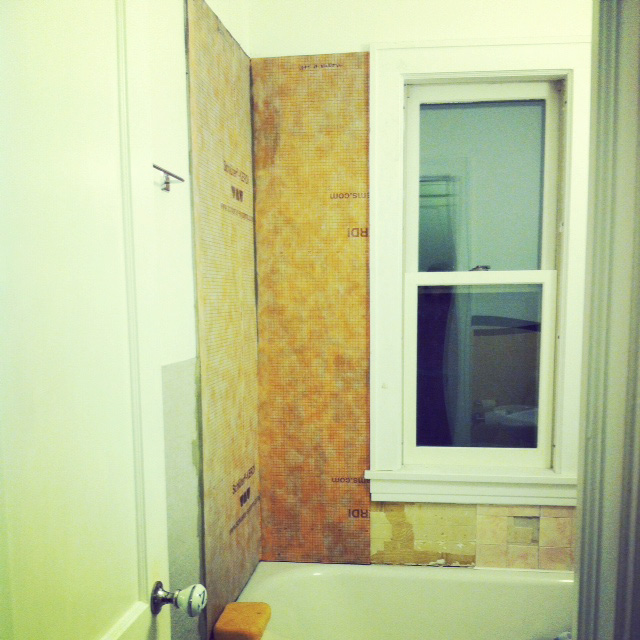
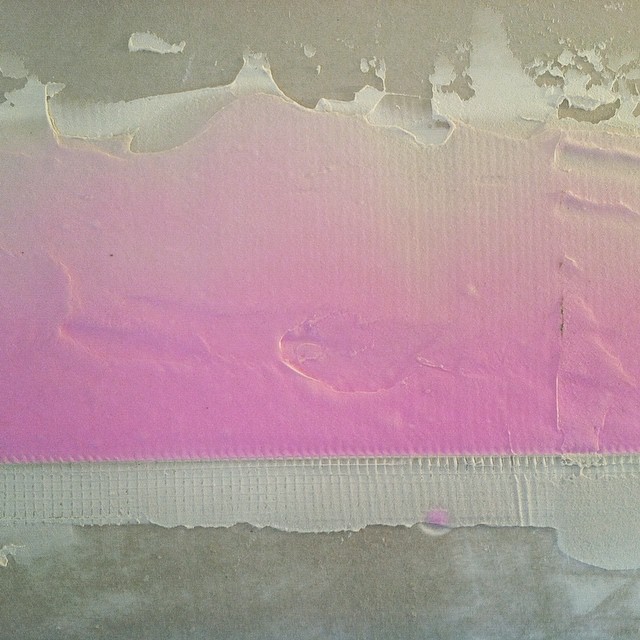
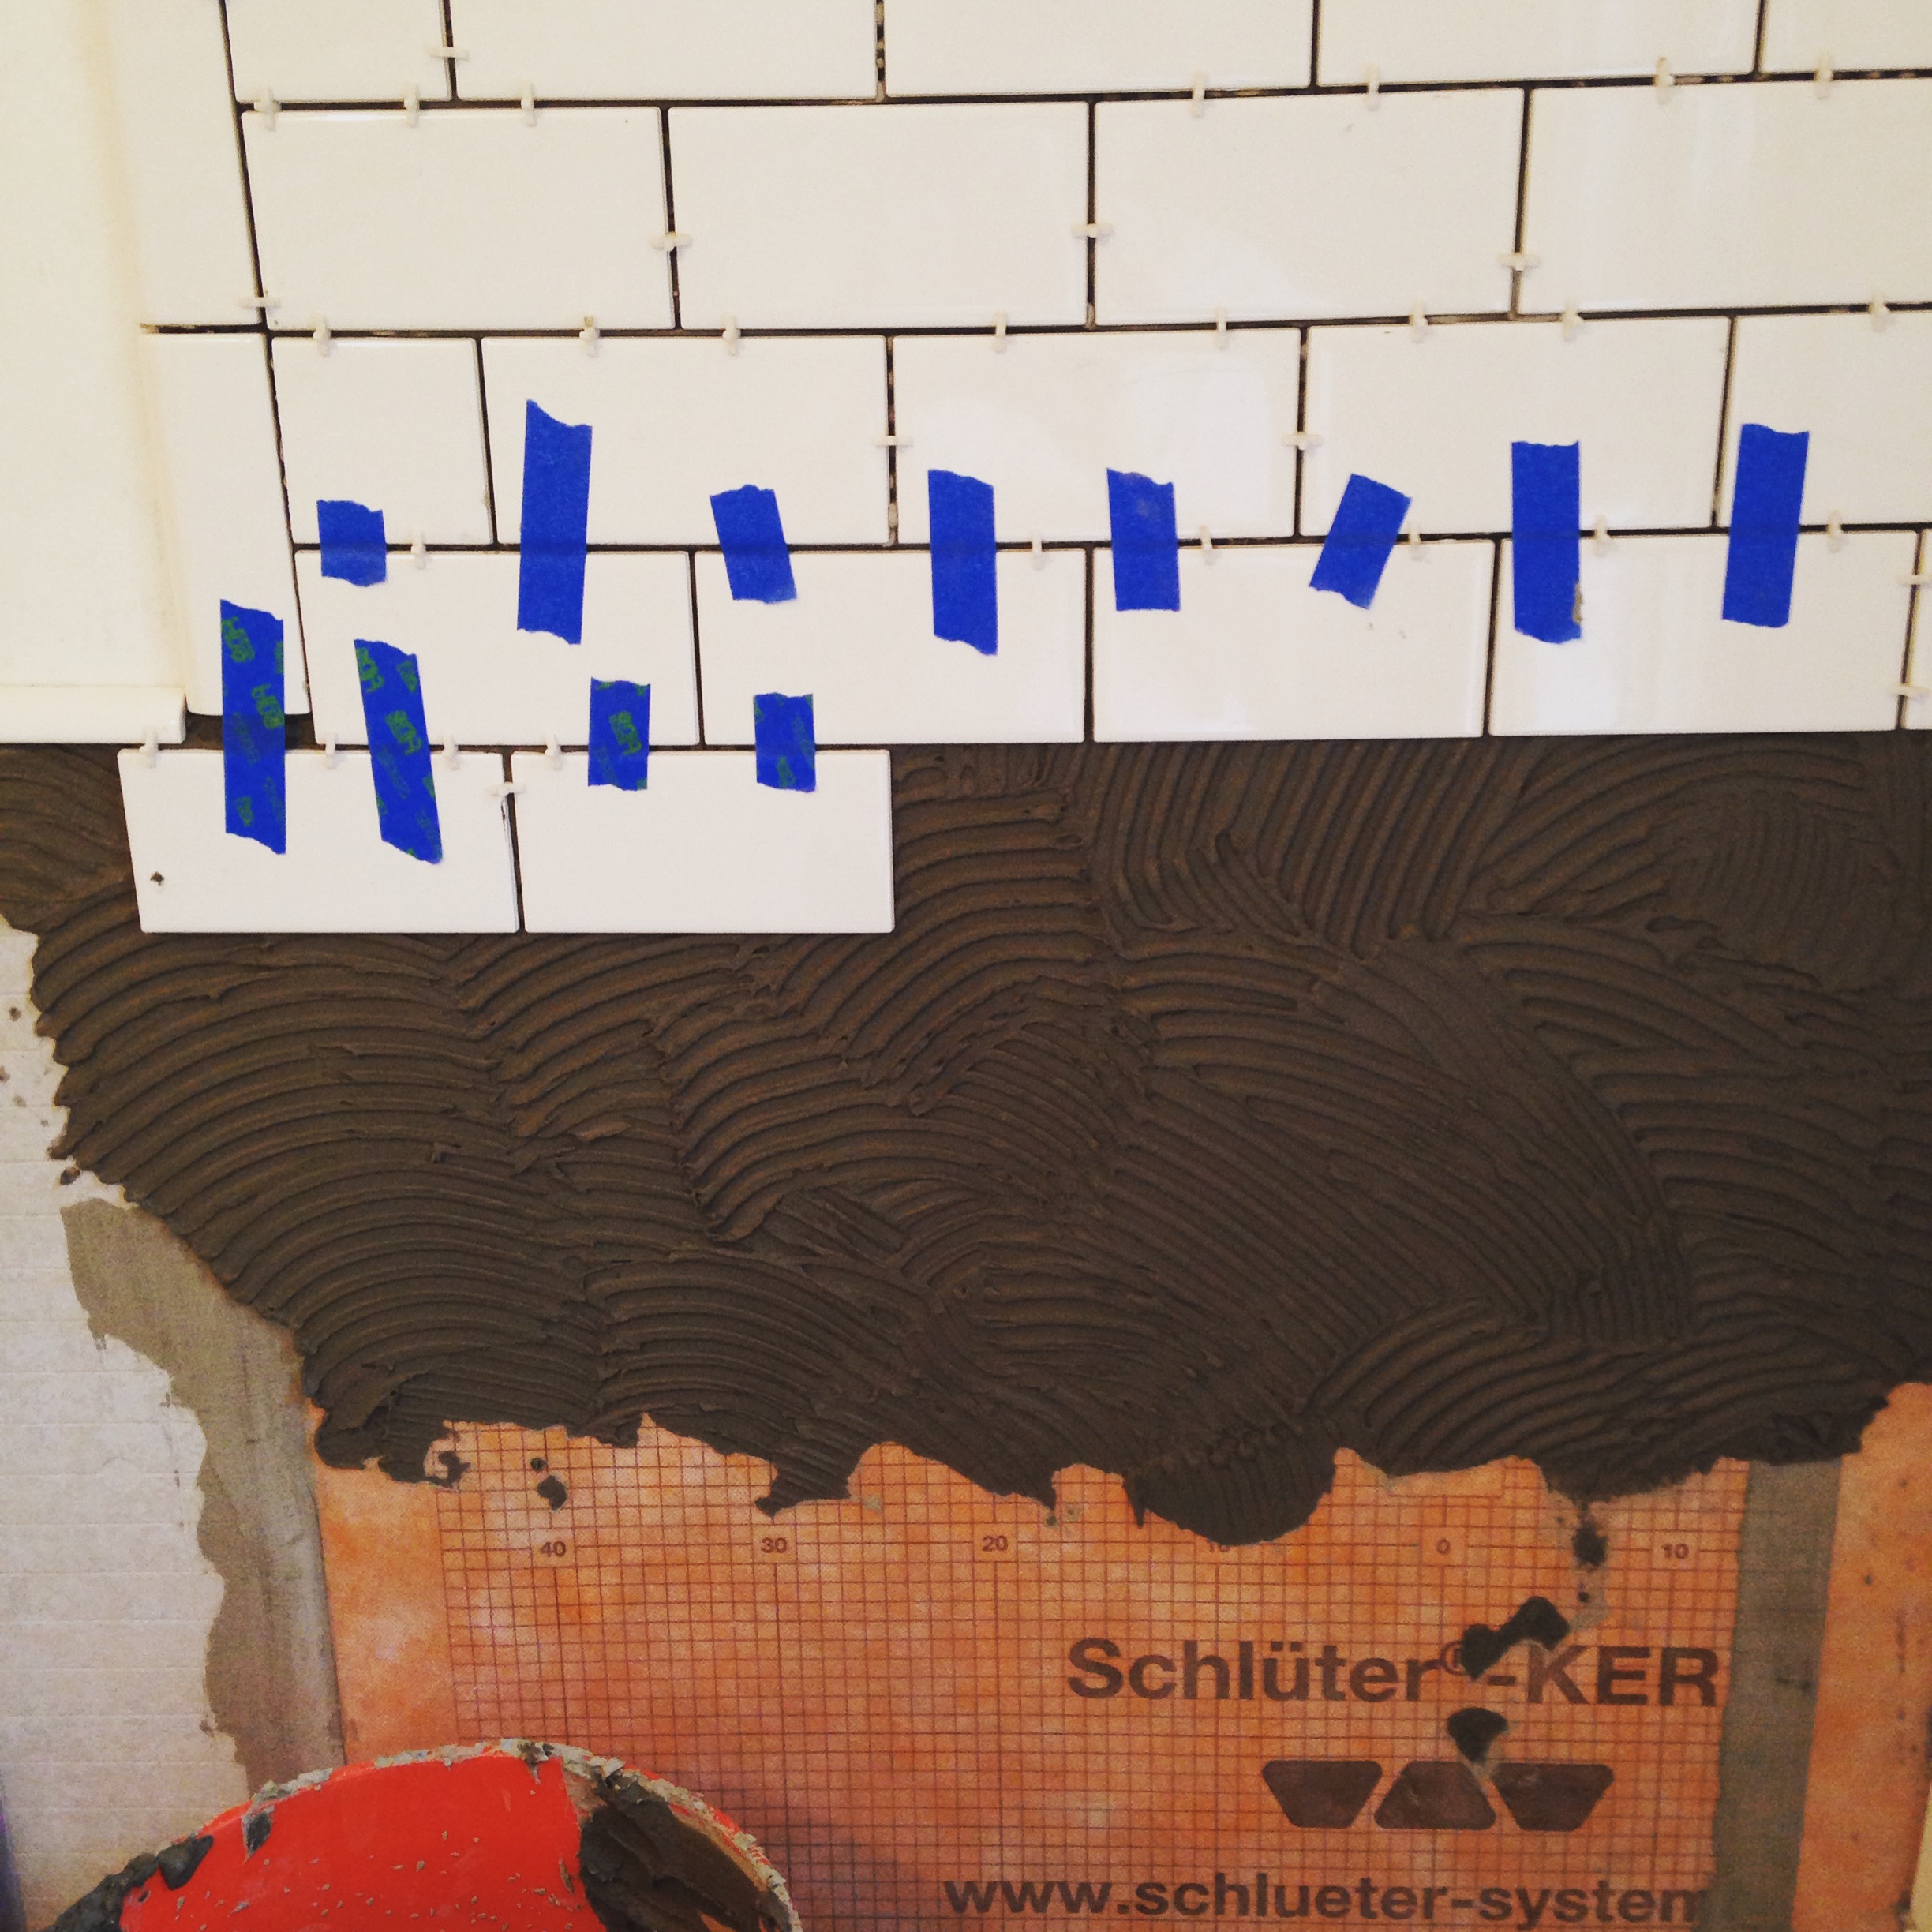
The shower area had not been properly waterproofed and the existing tile wasn't even fully grouted. As a result, it was failing. After removing the tile we installed 1/4" cement board directly to the existing plaster wall and then we applied a Kerdi membrane on top of that. The Kerdi membrane is a waterproofing membrane and is applied with a layer of thinset on top of the cement board. After it's had time to dry it's ready for tile. The Kerdi system is a product by Schluter and is incredibly easy to install.
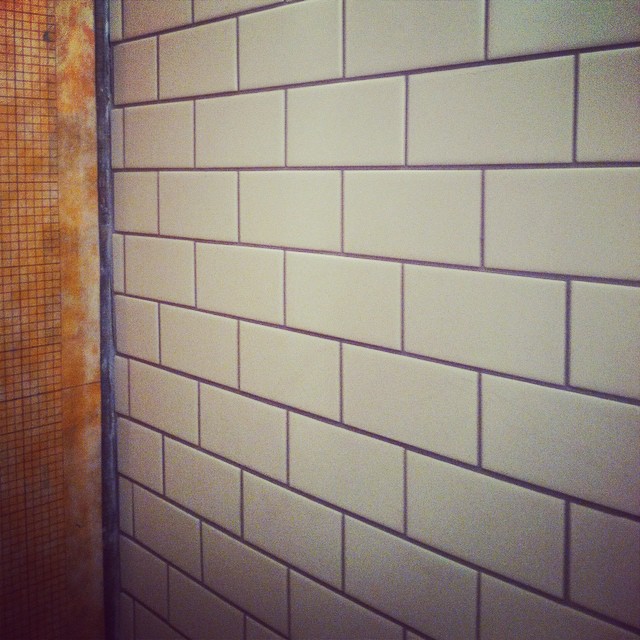
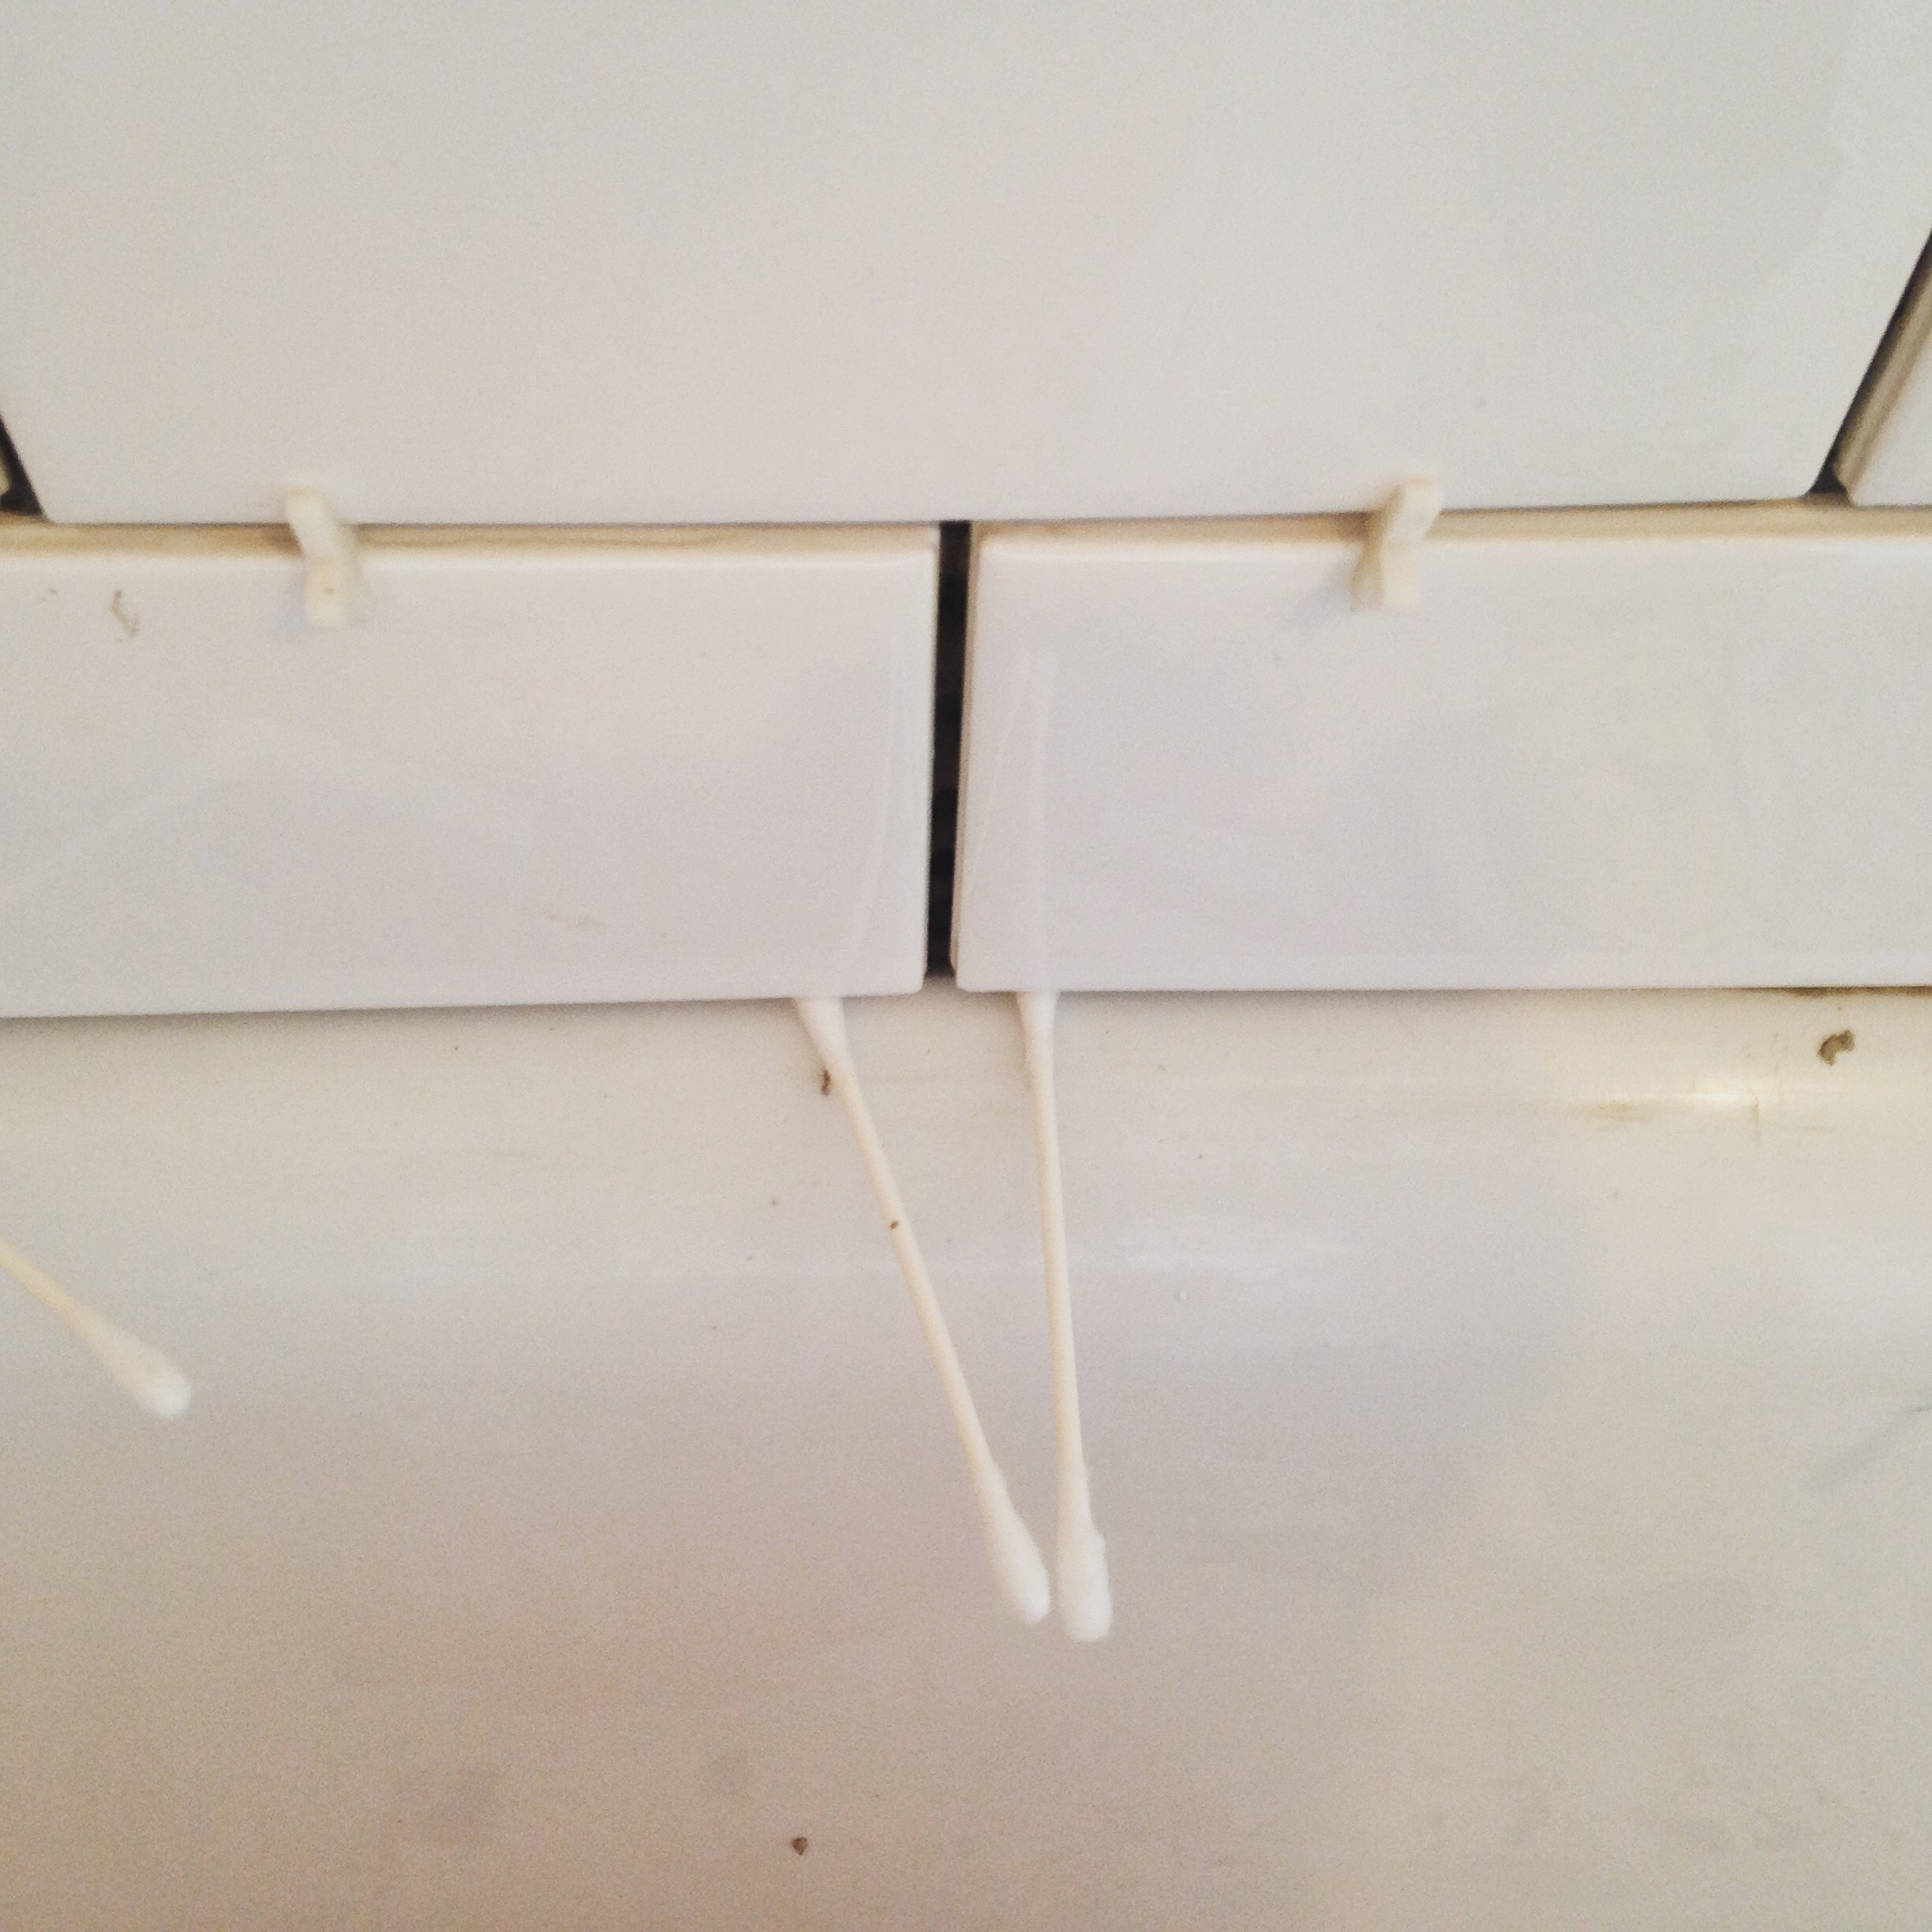
For the wall tile we opted for an affordable white ceramic subway- Daltile Rittenhouse tile, which is available at Home Depot. We chose Delorean Gray for the grout for a slightly dramatic look.
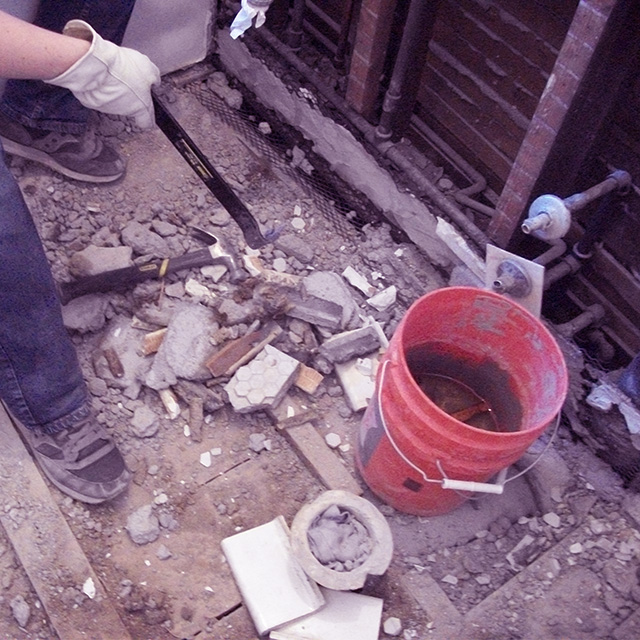
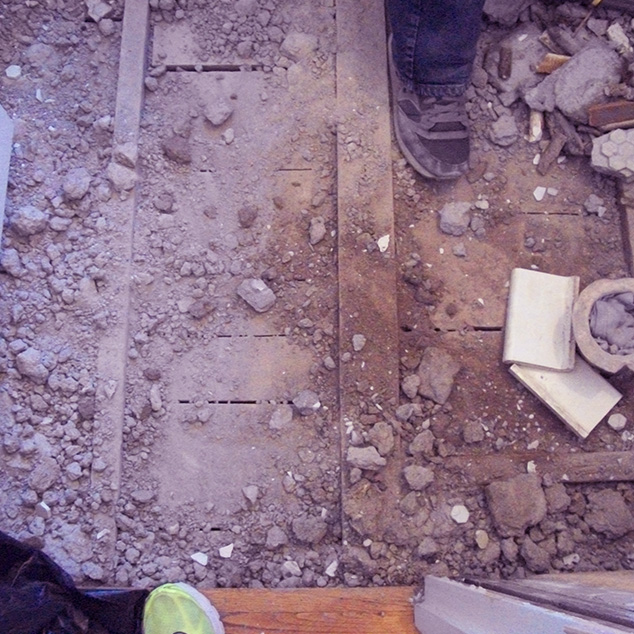
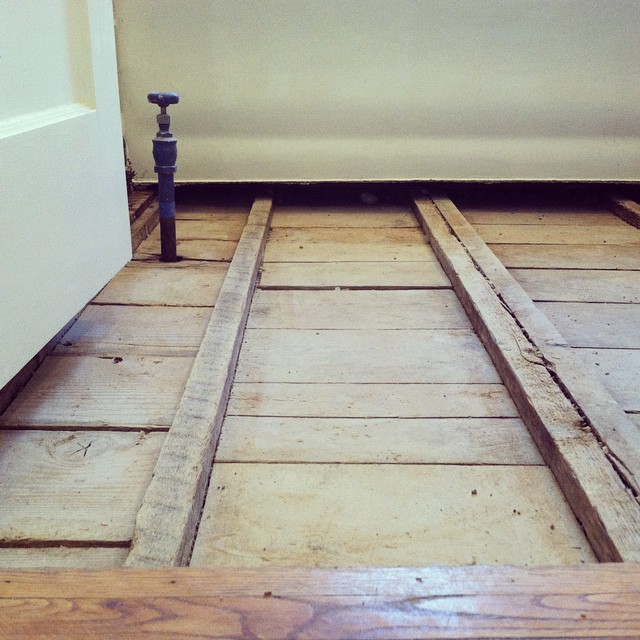
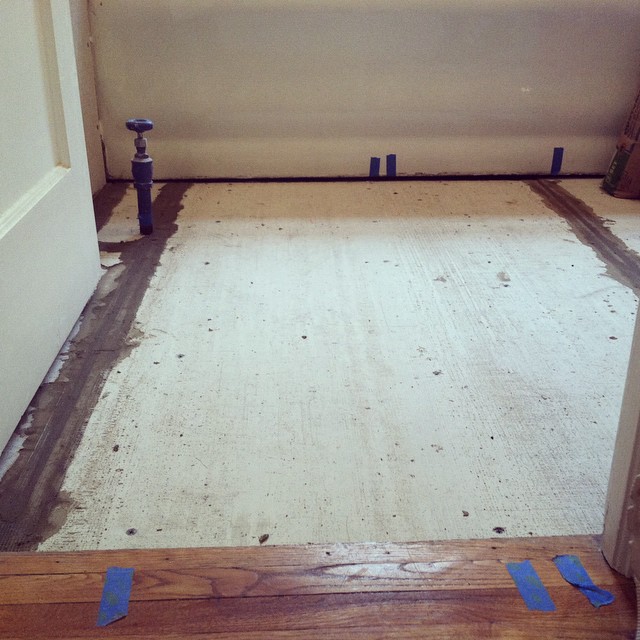
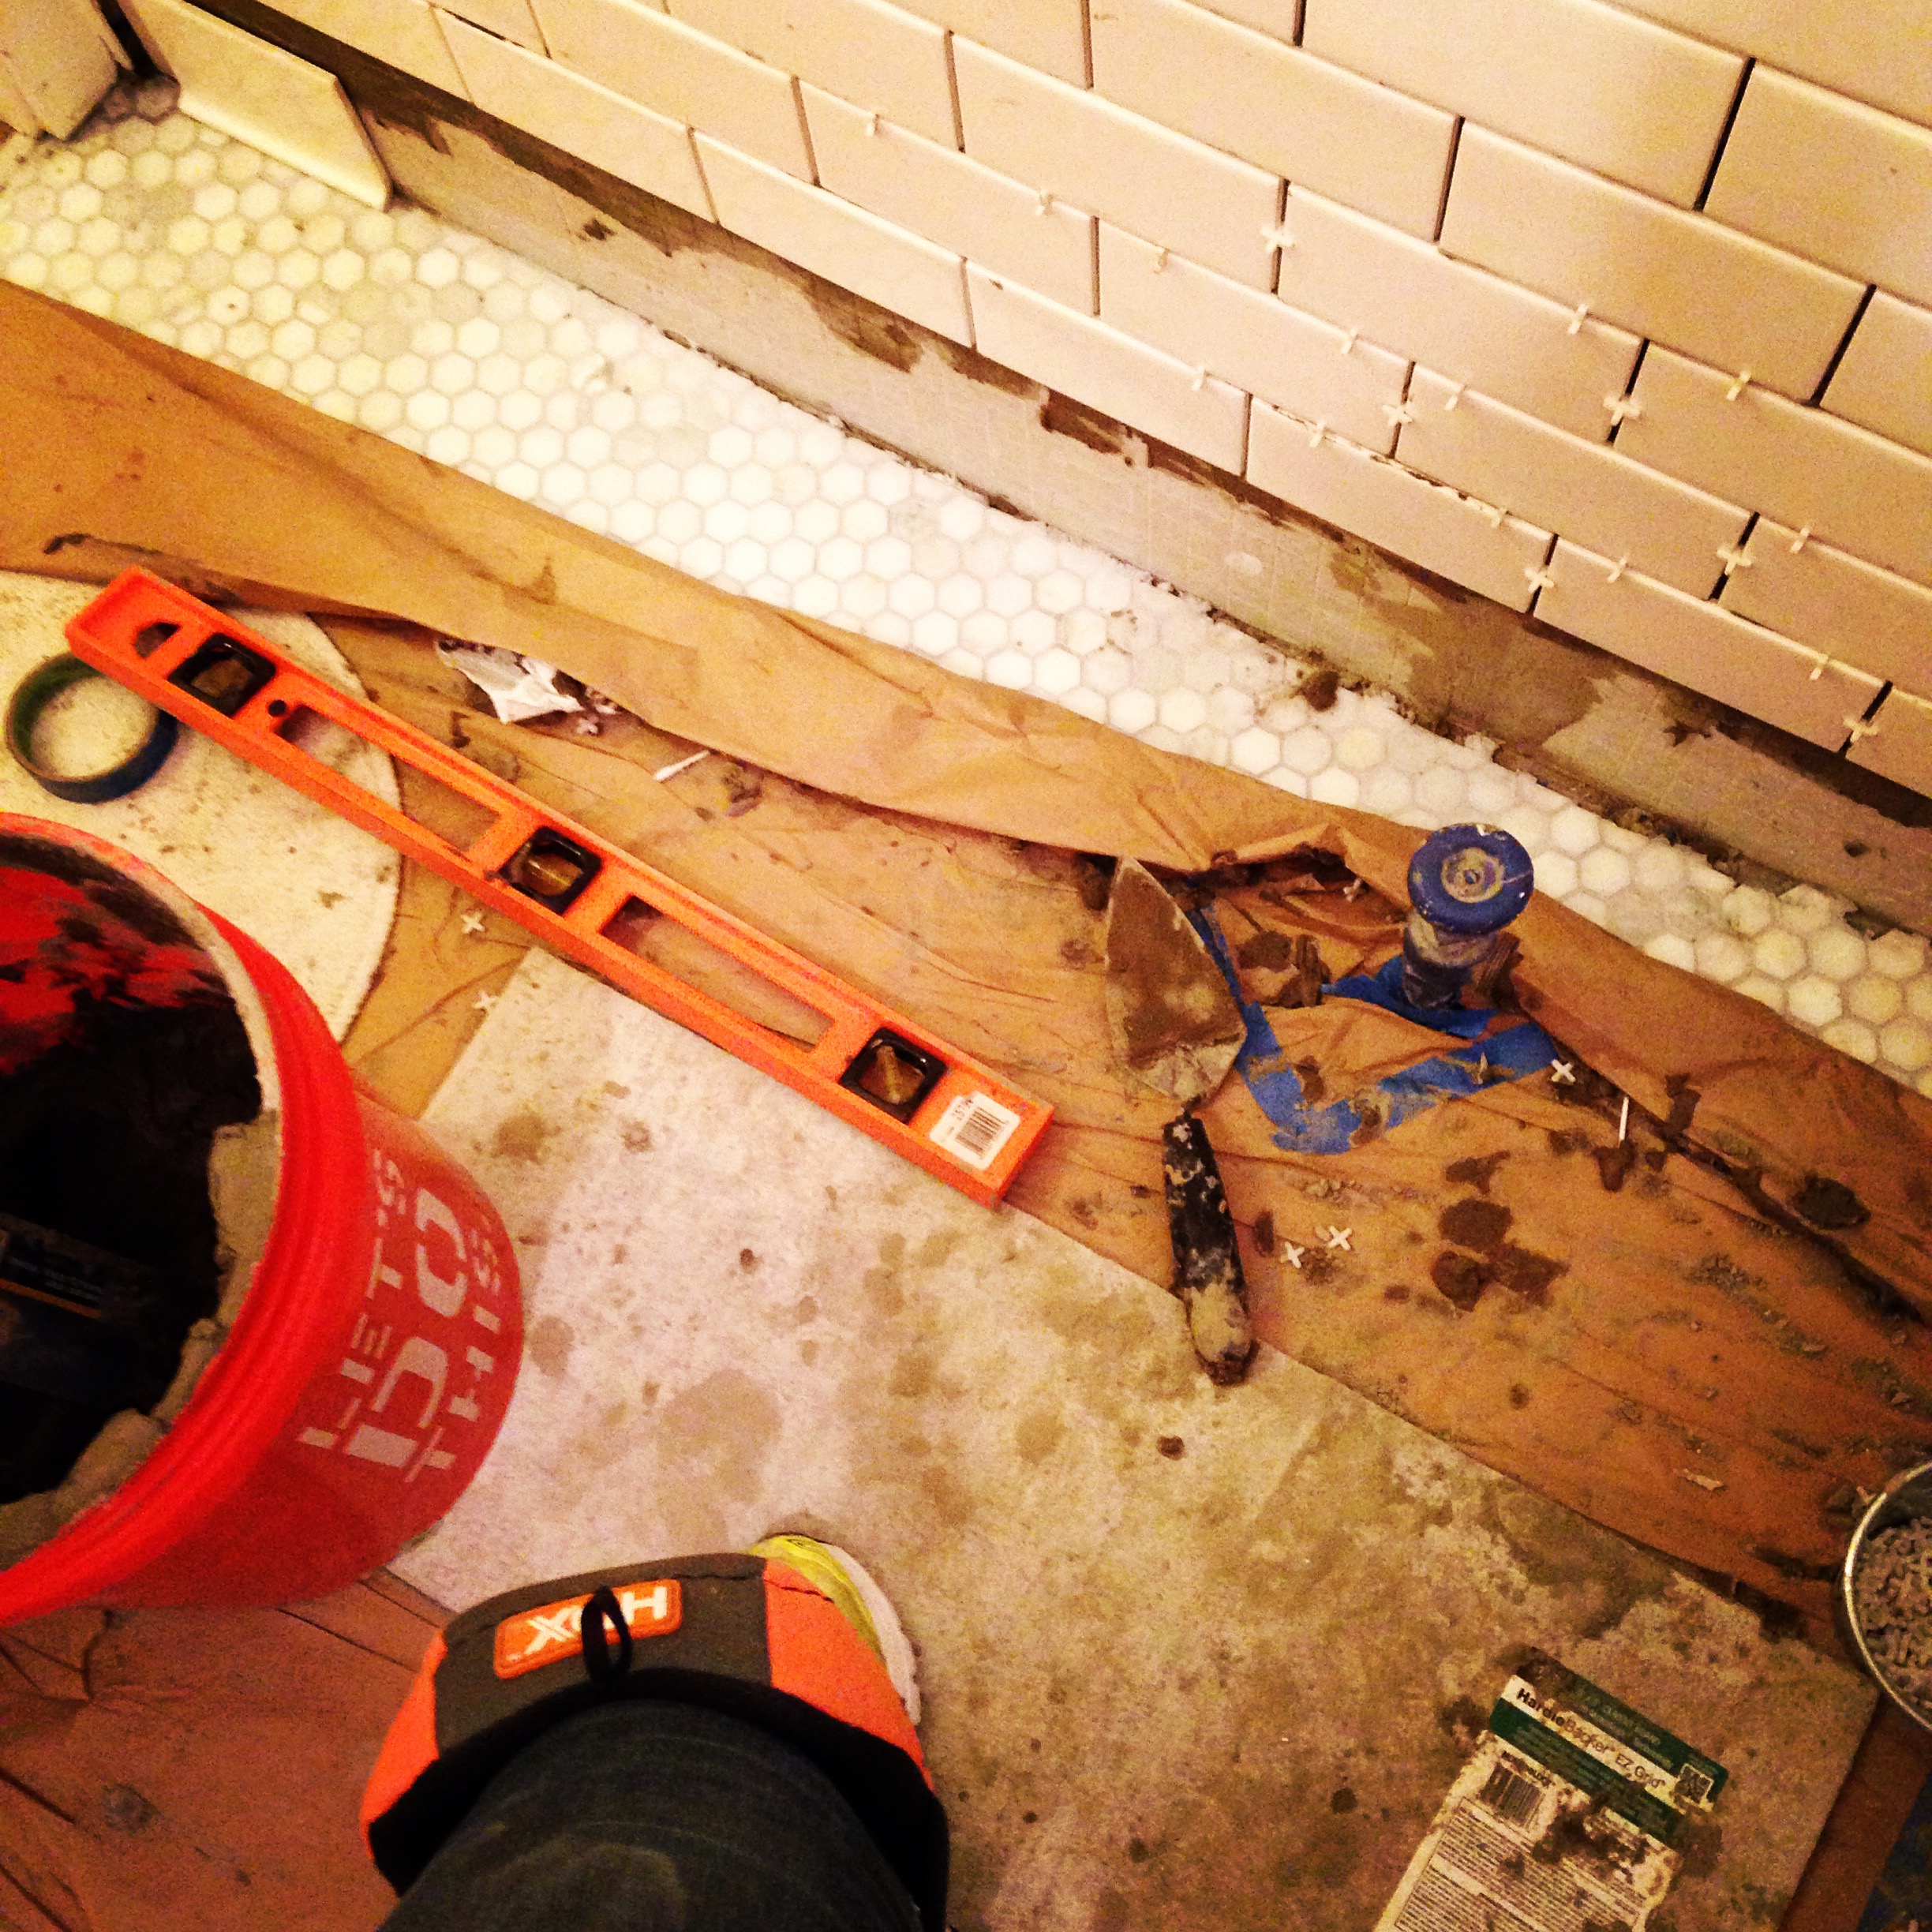
While the walls were still in the process of being completed, we started busting out the existing floor. The existing floor was a marble hex tile installed on top of a mortar setting bed approximately 3 1/2" thick. Luckily once the tile was chopped up the mortar came out relatively easy.
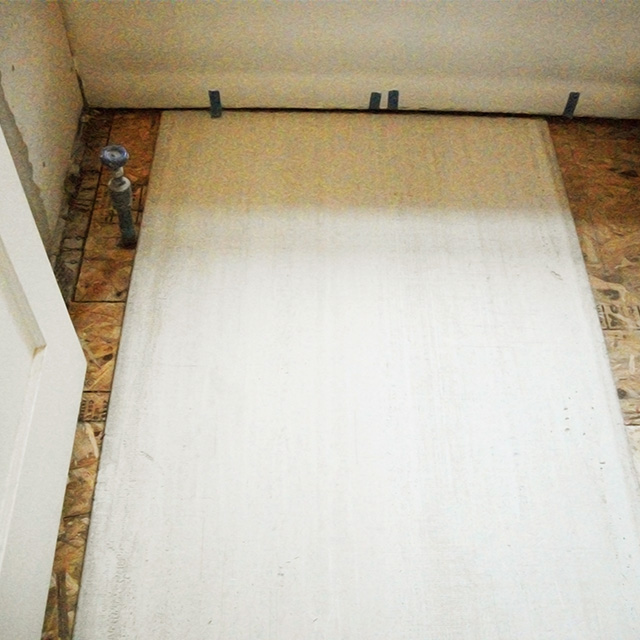
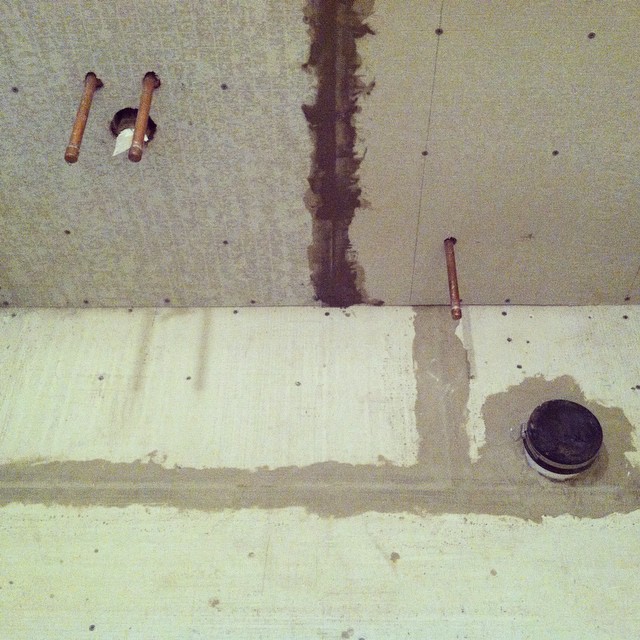
After all the debris was cleared out we were able to prep for the new floor. We layered 3/4" plywood on top of the existing joists and then 1/2" cement board on top of that.
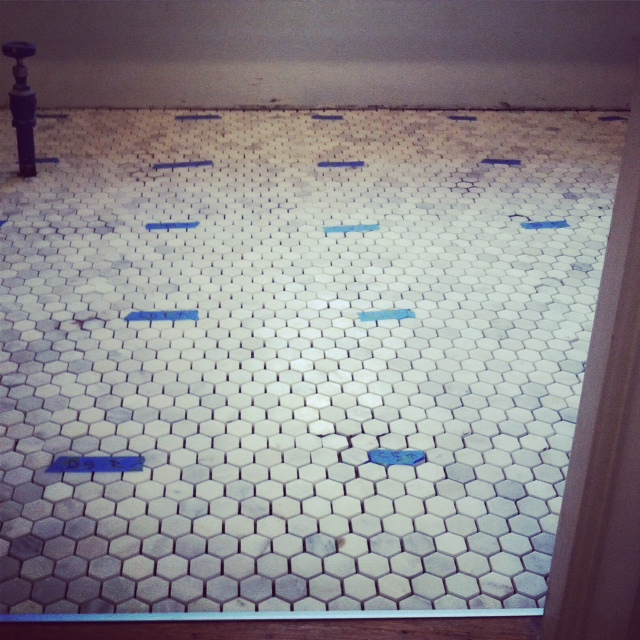
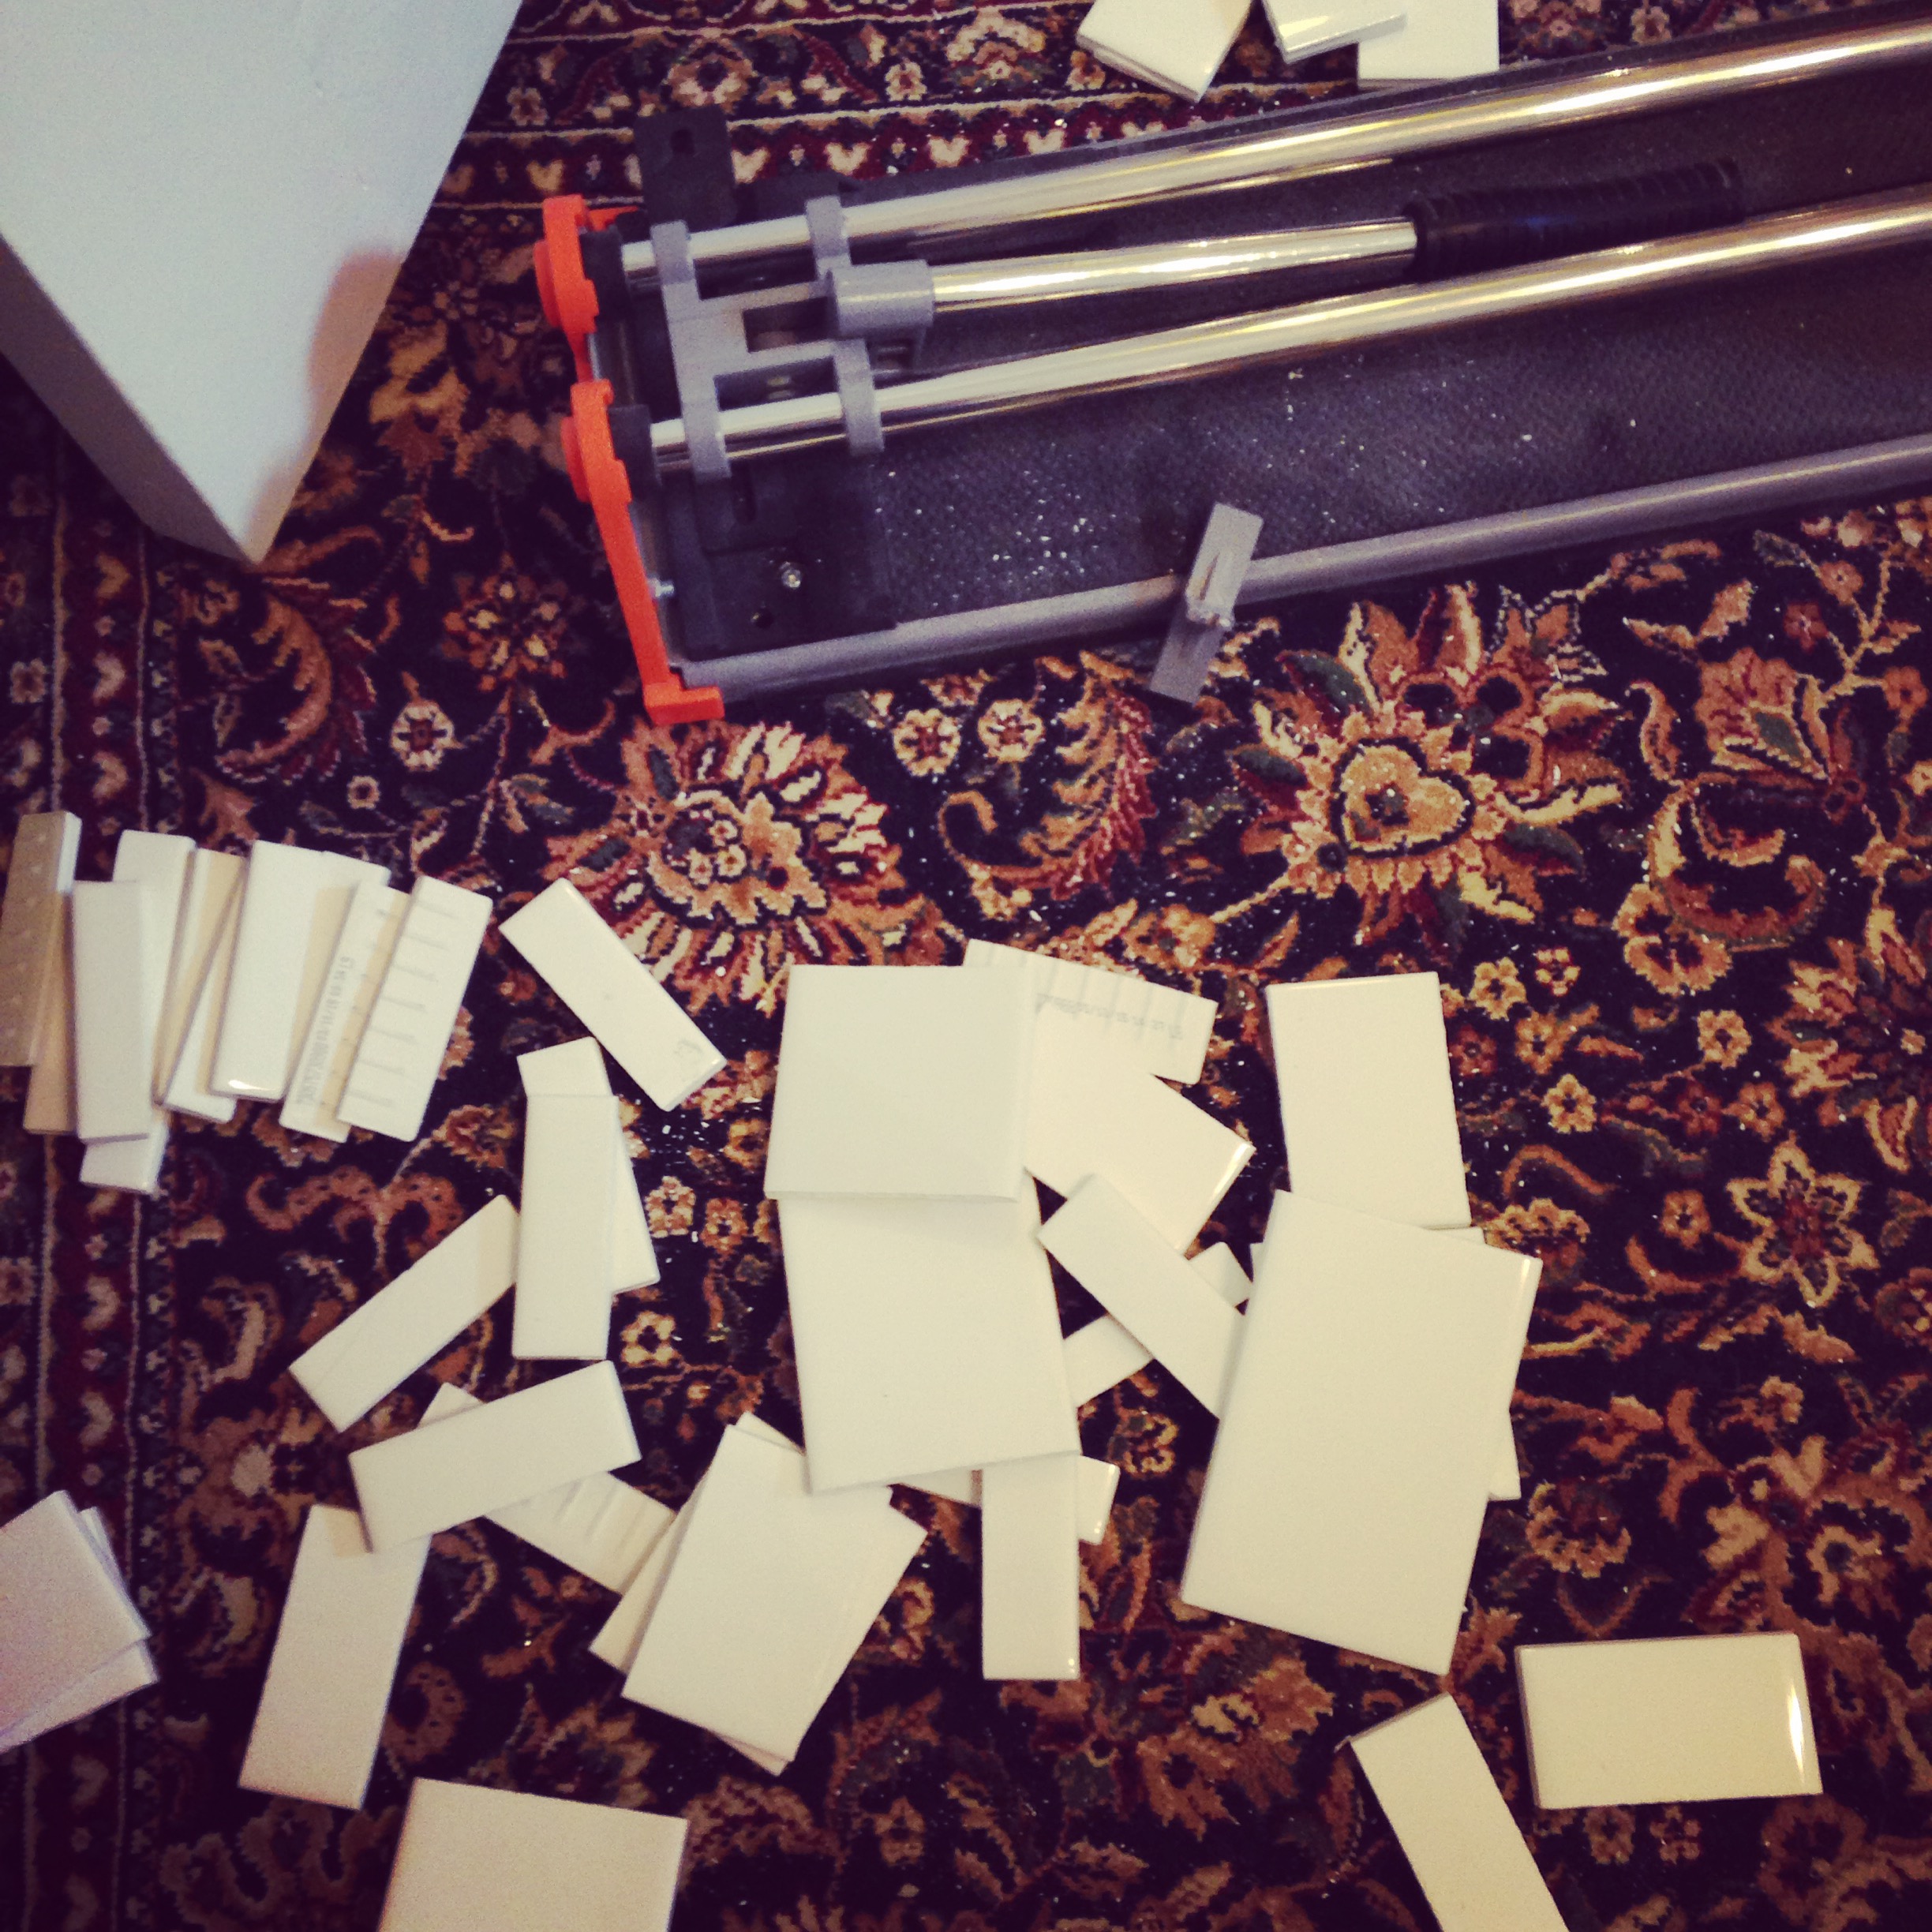
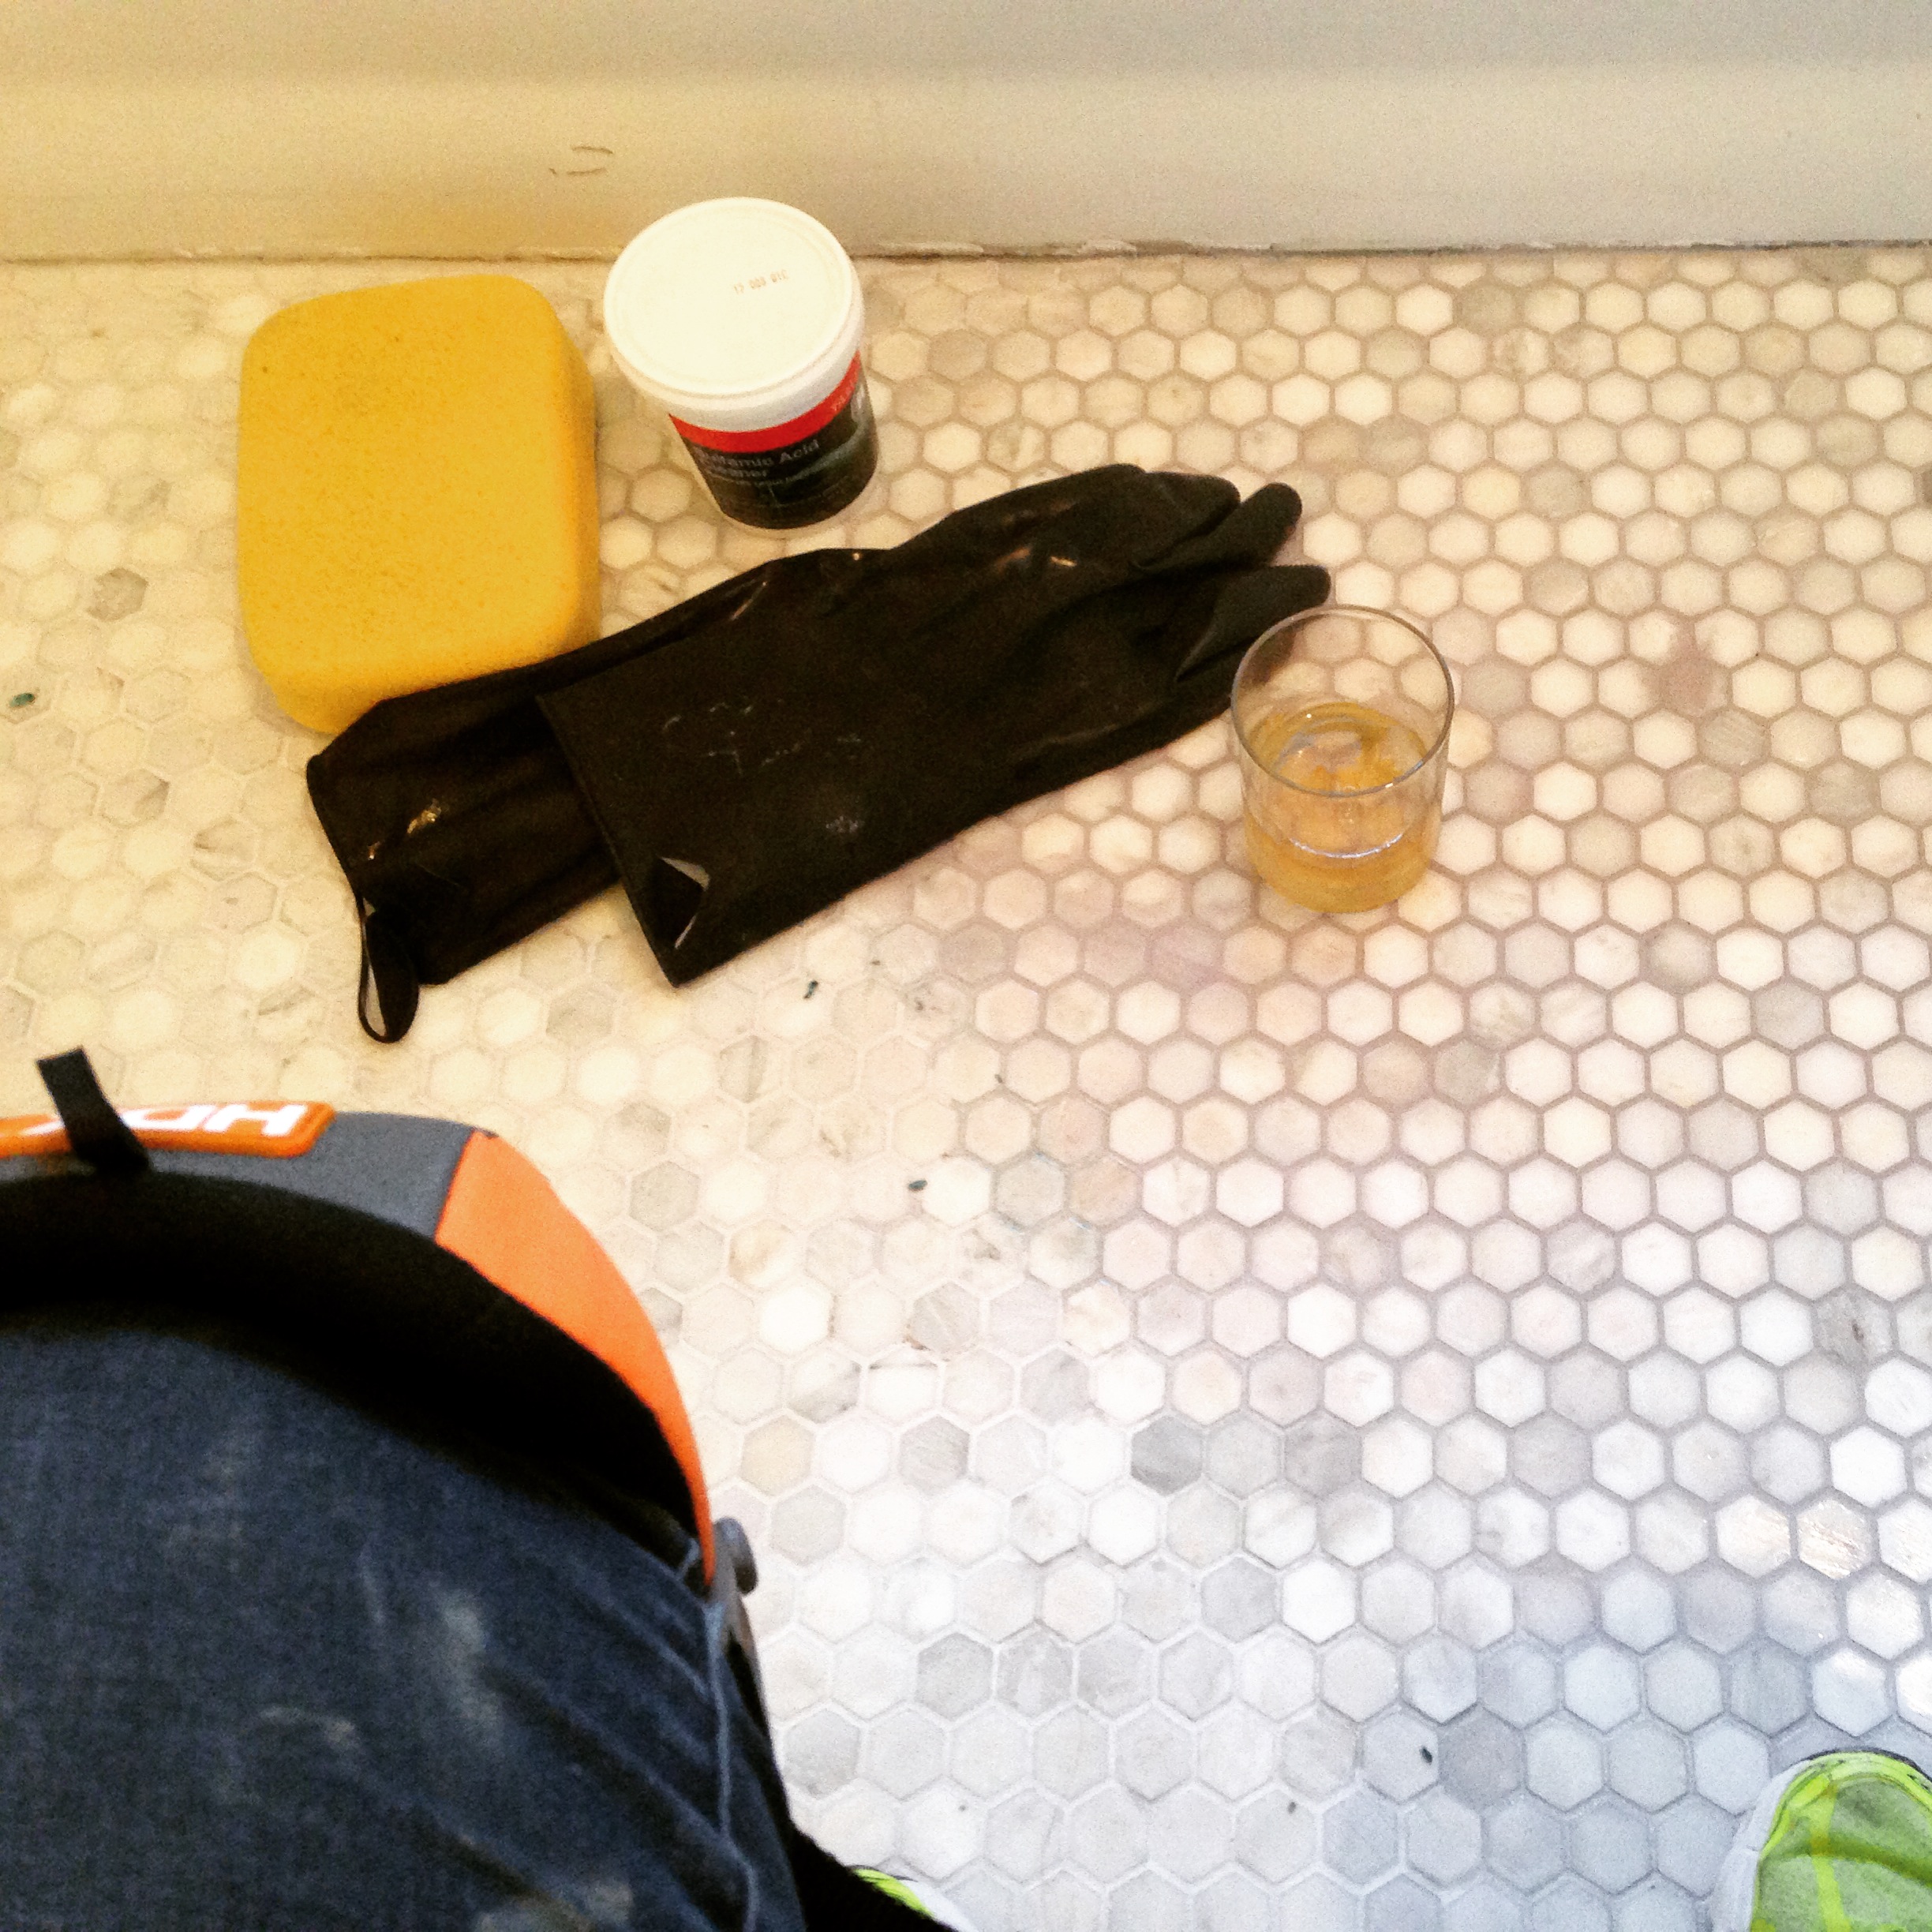
For the floor we opted for a more expensive marble hex tile with a lighter grout. We dry set and trimmed all of the pieces as necessary before laying the tile. We also marked and labeled each sheet so we knew exactly where it went. For the floor transition we used a Schluter floor transition strip.